Filmmaker Ashleigh Jadee breaks down various editing techniques to help you create some brilliant content.
Check out Ashleigh Jadee's advanced editing tips here.
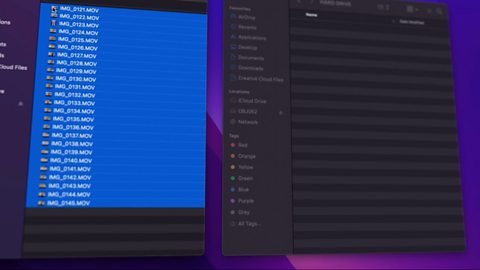
Step 1 (00:44) – Make sure your footage is backed up.
Having several copies of your footage is a lifeline if anything goes wrong. You can copy and paste your files onto your computer, upload to a cloud service, or even make duplicates.
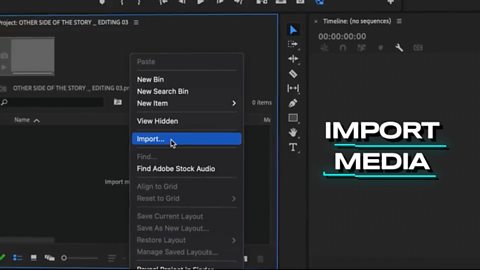
Step 2 (01:01) – Import your media and organise into folders.
There are lots of free editing apps and programmes for your computer, such as iMovie, Clipchamp, DaVinci Resolve and Adobe Premiere Rush. Just choose what works for you and the devices you have available.

Step 3 (01:21) – Watch through all of your footage.
This way you can easily see which shots you like and which you don’t. You can then move the shots you don’t like into a separate folder.
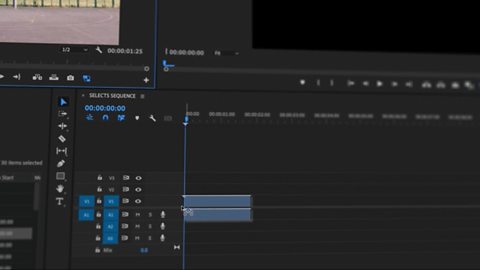
Step 4 (01:27) – Create a new sequence timeline.
You can create a new sequence to collate all of your favourite footage on one timeline, you can call this your ‘Selects Sequence’. Find a clip you like and select the best bit by dragging the edges of the clip or using the in “{“ and out “}” shortcuts. Once all your clips are on the timeline, it’s a good idea to duplicate and create a back-up copy, you can call this new timeline your ‘Working Sequence’.
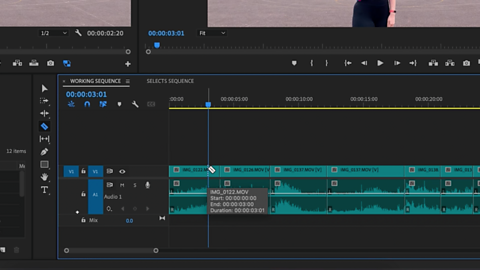
Step 5 (02:08) – Tweak the edit to your liking.
Cutting out any unwanted sections on your ‘Working Sequence’ can easily be done by adding cuts to either side of the sections you wish to remove, or dragging the edge of the clip to make it smaller. The cut button can come in different forms, often known as a razor/blade tool, or split clip/add edit function. You can also swap the order of your clips by dragging and dropping.

Step 6 (03:01) – Clean up your audio.
Ensure all of your dialogue is at a consistent sound level by altering the levels in each clip, gain can also be used to alter levels. Adding a cross fade effect between your audio cuts can help mask clicks or sudden changes. You can also add music onto a different timeline layer, but it’s likely you’ll need to reduce the levels on this track. Having music under your video is known as a bed and can help with storytelling.
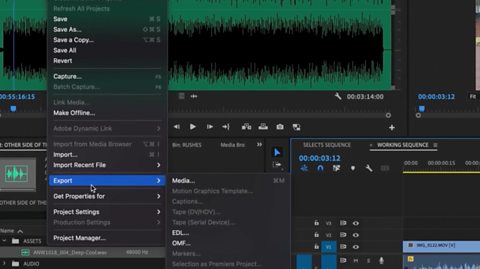
Step 7 (04:43) – Time to export.
Most editing software has preset export settings which will help when it comes to choose which export options to go for.