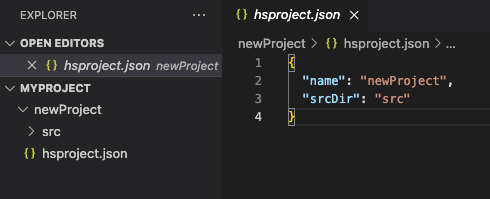
Create a project (BETA)

Using projects, you can package, build, and deploy to HubSpot locally using the CLI. Depending on your HubSpot subscription, you can use projects to build the following:

  • UI extensions:
    • Building UI extensions for private apps in standard HubSpot accounts requires a Sales Hub or Service Hub Enterprise subscription. However, a paid subscription is not required for creating UI extensions for private apps in test accounts within developer accounts.
    • Public apps are built in developer accounts, which don't require a paid subscription. If you're enrolled in the UI extensions for public apps Early Access beta, learn more about building UI extensions for public apps.
  • CMS: all accounts can create projects to build CMS React modules. However, to include serverless functions that are invoked by public URLs, you'll need a Content Hub Enterprise subscription.

This guide walks through how to create a project from scratch. After creating and uploading the project, you'll then create a private app or public app within it, followed by UI extensions or CMS React modules.

To get started developing a project, app, and UI extension from a template, check out the following quickstart guides:

Or, check out HubSpot's sample UI extensions to examples of how these pieces fit together.

Create a project

To create a project from scratch:

  • In the terminal, navigate to the folder where you'll be storing the project locally. A project can live anywhere locally, but will be stored in HubSpot as a root-level directory in the developer file system.
  • Run hs project create.
  • Enter a name for your project, then press Enter.
  • Press Enter to create the project with the suggested directory. Or enter a new directory path, then press Enter.
  • Select No template to create a project with no template.

A project directory will then be created with the following assets:

  • An hsproject.json file in the root directory to configure the project.
// Example project config file { "name": "my_project", "srcDir": "src", "platformVersion": "2023.2" }
Use this table to describe parameters / fields
FieldTypDescription
name
String

The project's name

srcDir
String

The directory that contains the rest of your project files.

platformVersion
String

The version of the developer project platform you're developing on. As improvements are made and features are added to the projects platform, some might include breaking changes. By specifying a version, you can control which features are accessible in your project. If not specified, the project will fall back to the current version. 

  • An src folder where you'll store your app's files. This folder can have any name as long as it matches the srcDir value in the hsproject.json file.

project-from-scratch

Next, upload the project to HubSpot by running hs project upload. This will upload the empty project to your account where you can then view it.

Please note: the source directory cannot be greater than 50MB uncompressed, otherwise it will fail to upload.

View the project in HubSpot

To view your deployed project in HubSpot, you can run hs project open in the terminal, or navigate to it in HubSpot:

  • In your HubSpot account, navigate to CRM Development.
  • In the left sidebar menu, navigate to Projects. The project card will display a This project is empty message, which is expected because you've uploaded a project without a private app.
  • Click the name of the project. The project details page will display information about build history once a private app is added to the project.

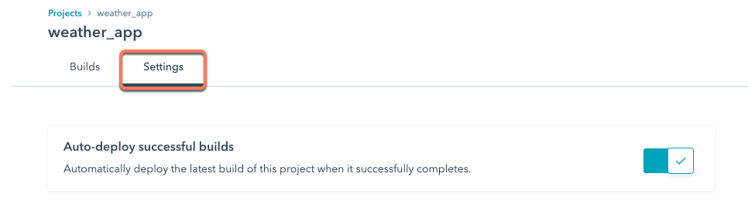
From the project details page, you can also manage auto-deploy settings:

  • On the project page, click the Settings tab.
  • Click to toggle the Auto-deploy successful builds switch off. 

project-private-app-settings-tab0

Next, create a private app or public app in the project so that you can start building your UI extensions or CMS React modules.


Was this article helpful?
This form is used for documentation feedback only. Learn how to get help with HubSpot.